My Encounter with Simmumah Ur-Nokru: A Ghosts of the Deep Boss Guide
Defeat Simmumah Ur-Nokru, Lucent Necromancer in Ghosts of the Deep, with solo strategies and symbol mechanics. Master ritual and avoid cursed moths.
Stepping into the ancient, submerged arena of the Ghosts of the Deep dungeon, the air thick with sorrow and Hive sorcery, I came face-to-face with the final trial: Simmumah Ur-Nokru, the Lucent Necromancer. This boss fight tested every survival instinct I’d honed across years of Guardian service, and as I write this in 2026, the strategies that carried me to victory remain as relevant as ever. Overcoming her requires not just firepower, but a clear understanding of ritual mechanics, symbol memorization, and a healthy dose of endurance. If you’re like me—a dedicated solo player who occasionally leans on fireteam support—the following account of both the intended and the unconventional paths to triumph will serve you well.
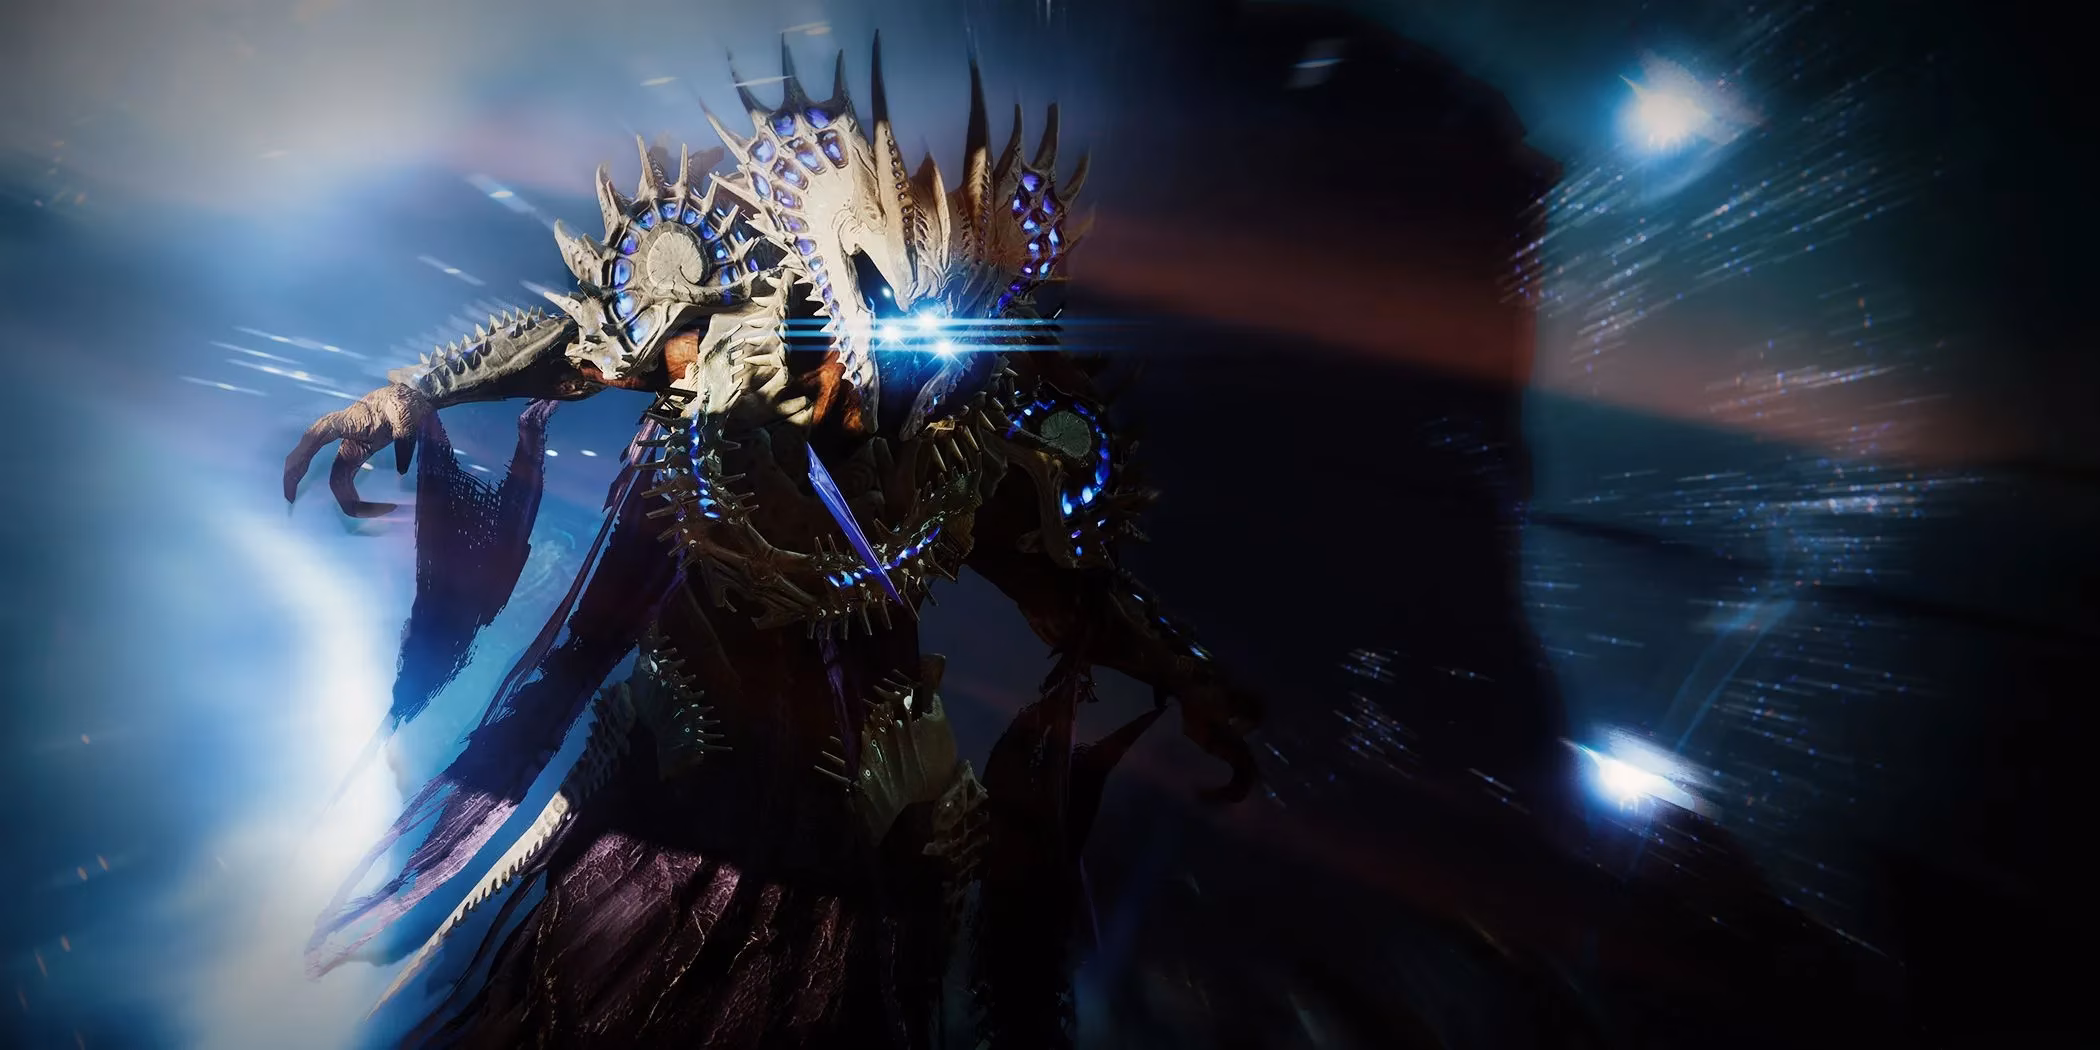
When I first entered the final chamber, my eyes were drawn to the colossal, motionless form of Oryx, the Taken King, lying in a somber pool. Hovering near his head was a ghost, and floating above it all was Simmumah herself. The rally banner gave me a moment to breathe, but I knew hesitation meant death. I learned quickly that triggering the encounter by destroying that ghost is essential—doing so spawns a vital Deepsight node and unleashes waves of enemies. Those cursed moths, in particular, punished any lapse in awareness with devastating arc explosions.
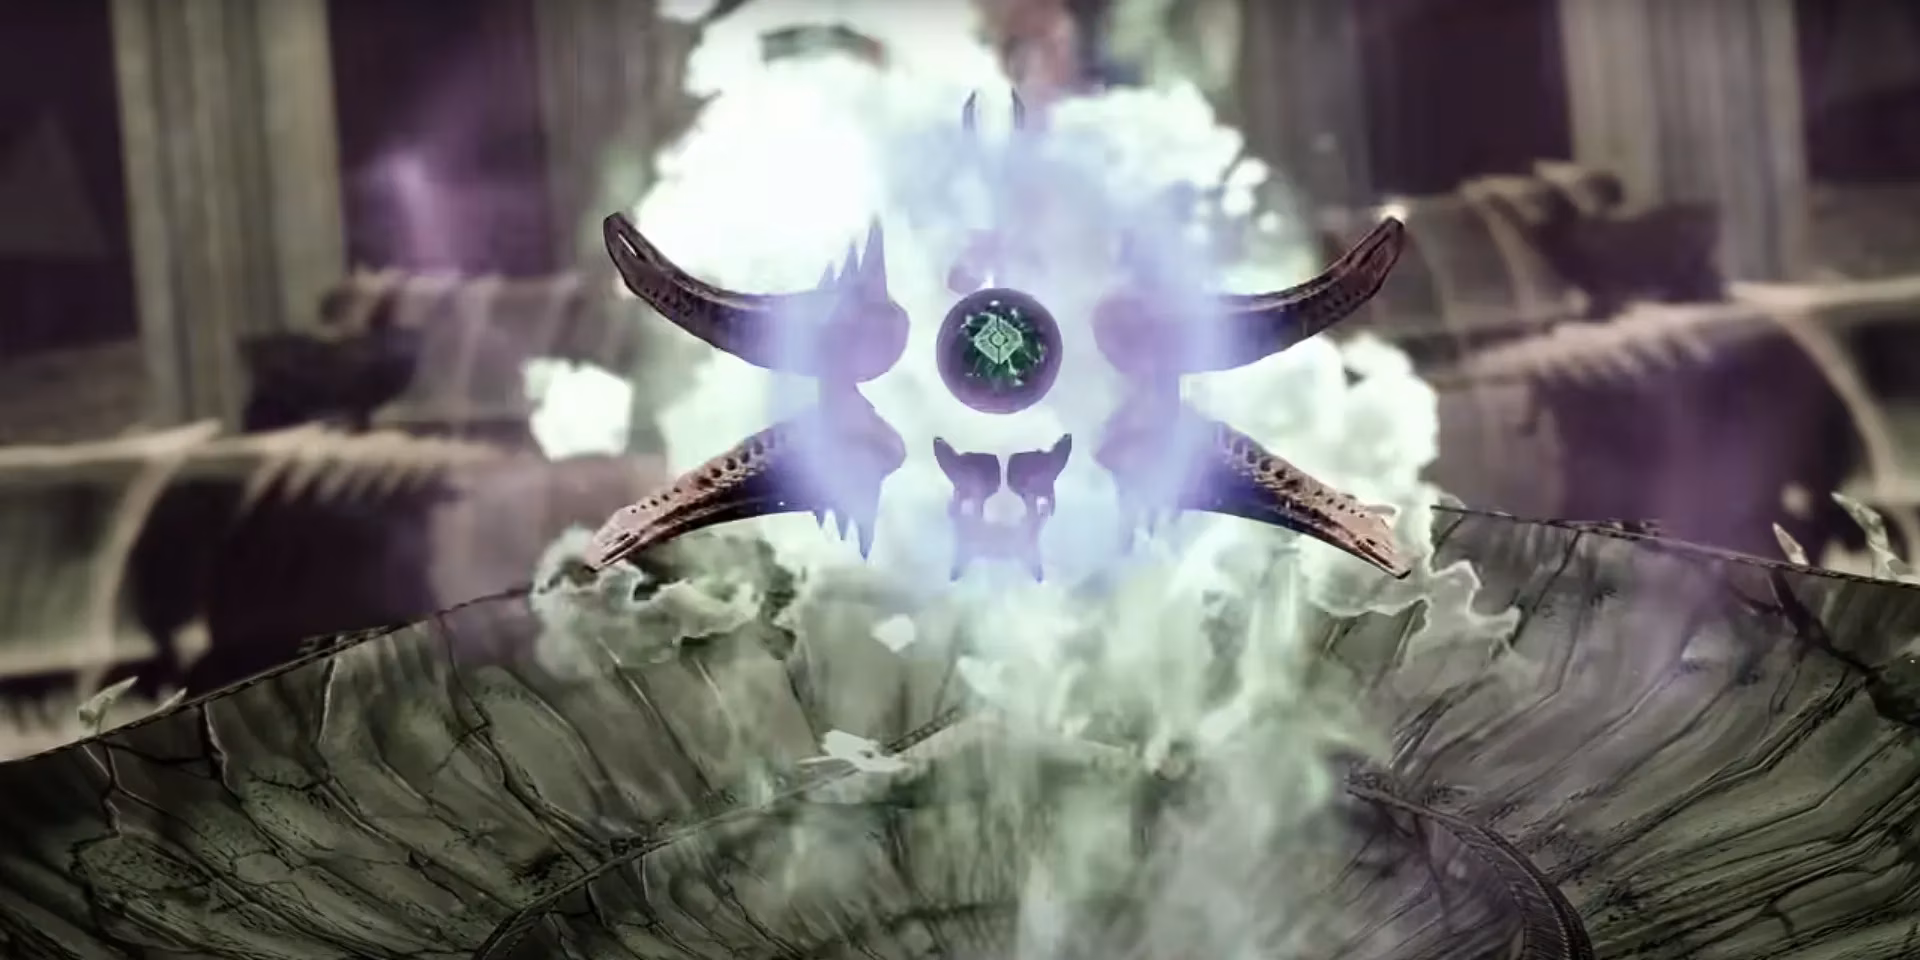
Once I activated the Deepsight, three ritual sites became visible across the arena, each marked by a hovering black orb and a green circle. This was the heart of the Hive ritual. I stepped into the first circle, and a formidable Knight named Vorlog materialized. Defeating him while remaining inside the circle is crucial; it anchors Simmumah’s attention to that location. What came next felt like a dark puzzle: a Hive face symbol and a translucent ring appeared. Peering through that ring at the symbol revealed a specific Hive rune, which I mentally catalogued before moving on. Repeating this task at all three Deepsight-highlighted spots forced me to stay mobile and manage adds constantly.

With all runes deciphered, the real test began: the underwater cave doors. I located them near Oryx’s head, by the entrance, and beside a massive stone hand. Each door opened to a narrow chamber housing a Lucent Hive and a unique symbol glowing on the wall. The trick was to memorize that symbol before defeating the Hive and then snatch the Vestige Buff. Panic was my enemy; forgetting a symbol meant certain death later. I carried the Vestige back to the main chamber, used Deepsight again, and three shadowy orbs appeared beneath the previously revealed runes. Each orb corresponded to one of the Lucent Hive chambers’ symbols. Dunking the Vestige under the correct rune was unforgiving—a single mistake electrocuted me on the spot, resetting that entire leg of the ritual. I had to be precise, matching symbol to rune for all three to initiate the damage phase.
When the final Vestige was deposited, pools of brilliant light bloomed across the floor. Simmumah’s shield became my primary obstacle, and standing in those light pools was the only way to strip it. I found that weapons like Arbalest and Leviathan’s Breath, with their inherent anti-barrier properties, shredded her Arc-infused defenses from a safe distance. She teleported relentlessly, unleashing punishing Arc attacks, so I stacked Arc Resistance mods and kept moving. The fight demanded patience; repeating the entire cycle two or three times was standard while constantly dodging moths and supplicants.
However, not everyone tackles this dungeon with textbook purity. During one especially frustrating session, a friend introduced me to a cheese method that, even now, can ease the grind—provided the developers haven’t patched it. This tactic revolves around bypassing the ghost destruction entirely and slowly whittling down Simmumah with the Witherhoard grenade launcher. The premise is simple: instead of starting the encounter, we fired Witherhoard shots at her motionless form, letting the blight tick away her health. When a teammate inevitably fell, a quick revive reset the process without triggering the boss arena mechanics. To monitor progress, our third fireteam member trained a DARCI sniper rifle on her, relaying exact health percentages.
This workaround transforms the fight into a test of patience rather than execution. It’s a multiplayer-only strategy—I’d never survive it solo—and it entirely neuters the risk of rune mismatches and moth swarms. My team and I huddled in a safe corner, taking turns delivering damage and revival duties until the Necromancer crumpled. The loot that dropped, including the Navigator Exotic Strand trace rifle, felt just as satisfying as if we’d done it the hard way.
Reflecting on the whole ordeal, whether I engaged the ritual mechanics legitimately or exploited the Witherhoard cheese, the key lay in preparation and perseverance. The 1790 power recommendation proved essential; underleveled attempts were exercises in futility. For those venturing into Ghosts of the Deep today, my advice is to learn the proper mechanics first—they’re incredibly rewarding to master—but keep the shortcut in your back pocket for farming runs. This dungeon remains one of the most atmospheric and demanding challenges in Destiny 2, and Simmumah Ur-Nokru stands as a testament to the thrill of overcoming the impossible.